1984 - The Journey Begins... |
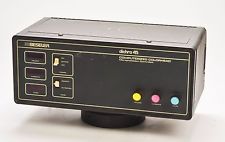
 The decision to purchase a Macintosh computer in early 1984, began my journey towards an entirely new way of capturing and creating images. Actually, it wasn't my first computer. I'd been exposed to computing even earlier on, thanks to my dad, Jim. He'd brought home an Atari 400 in 1979, just to play with. At the time, I wasn't really impressed with the graphics, except for maybe the Star Trek game. It wasn't until a year later that I would begin to consider the computer as an artistic tool. That conversion began to happen on a tour of the Film Board of Canada, in Montreal, with some other film major classmates. At the Film Board, I witnessed one of the very first computer animations being filmed. It was a simple, black, stick figure on a white monitor screen, a film camera exposed a frame each time the stick figure was slowly redrawn. I realized this was the birth of a very exciting new method of animating. Graduating from RIT that year, with a major in film/animation, I wanted to be in on the ground floor. The first computer I would plunk a good chunk of change down on, didn't have a monitor, keyboard, or a mouse. You couldn't make it do much of anything. That's because my first computer was a Beseler Color Computer head for my 4x5 enlarger. This was a state-of-the-art (in 1982) color lamphouse, with 3 photodiodes to accurately measure the RGB color of the light as you adjusted the color filter pack with the CMY color filtration knobs. It had 8-bit (0-255) digital readouts, so you could dial in a precise filter settings. This feedback system provided very repeatable results, irregardless of the fading of filters, or drop off of light output over time, because it measured actual output. Saved me expensive Cibachrome paper and chemistry, so I felt it was worth the investment. Little did I know how soon it would become obsolete.
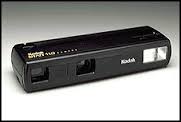 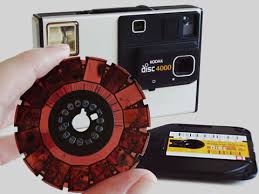 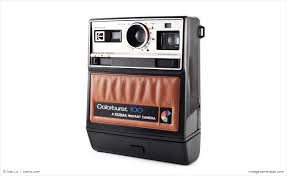 The Kodak consumer camera lineup of this period consisted of the 110 format pocket cameras, the 126 format, drop and load cameras, the instant film cameras such as the Crank (or Handle), the Colorburst line and last and certainly the least, the ill-fated Kodak Disc Camera. Now more than two years into production it seemed they were being returned faster than they could make them. Meanwhile, Kodak was also beginning to tip-toe about in the consumer electronics market, with the introduction of a Matsushita-built 8mm camcorder and some magnetic media products, you know, like video tape.
My First Personal ComputerTesting cameras not being my ultimate career goal, I was attempting to establish myself as a freelance photographer during the daylight hours. Not surprisingly, this is a very popular profession in Rochester. It rapidly became apparent that in order to stand out from the crowd, I would need to project a more professional image in my business correspondence, advertising, invoices, and so forth. I decided (convinced my wife) that I needed a computer!.So began my search for just the right computer. After spending what seemed like an eternity in the first store watching a salesperson type command after command, bringing up screen after screen of glowing green text, I seriously began doubting that there was a computer that could do what I wanted. The ones I'd seen so far didn't look all that easy to use and I really didn't want to spend a lot of time learning how to type commands, I just wanted to start creating things right away.
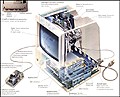
 I went straight to the bank and convinced them to let me borrow $3000, so that I could purchase one of these new Macintosh computers right away. I purchased an Apple Imagewriter printer and an Apple 400K external floppy drive just to expand my options. The computer itself came fully equipped with a whopping 128K of memory, internal 400K floppy drive, keyboard, mouse and a built-in 9' black & white monitor with a resolution of 512 x 342 pixels. Deciding what software to buy wasn't too difficult, as the only software available for the Macintosh at the time were the two packages that shipped with it... MacWrite and MacPaint. MacWriteMacWrite was a immense improvement over any of the word processors of the time. First of all you were working with a white screen with black text as opposed to the common black screen with amber or green text, so it looked alot more like traditional paper already. From the pull down menus you could now select a variety of fonts, styles and sizes and actually view how they would look right on the screen. If you wanted bold text you selected it from the menu and voila it showed up on the screen in bold. There were no messy control characters all over the screen to define the styles. MacWrite introduced the term WYSIWYG (what you see is what you get) to the general vocabulary. 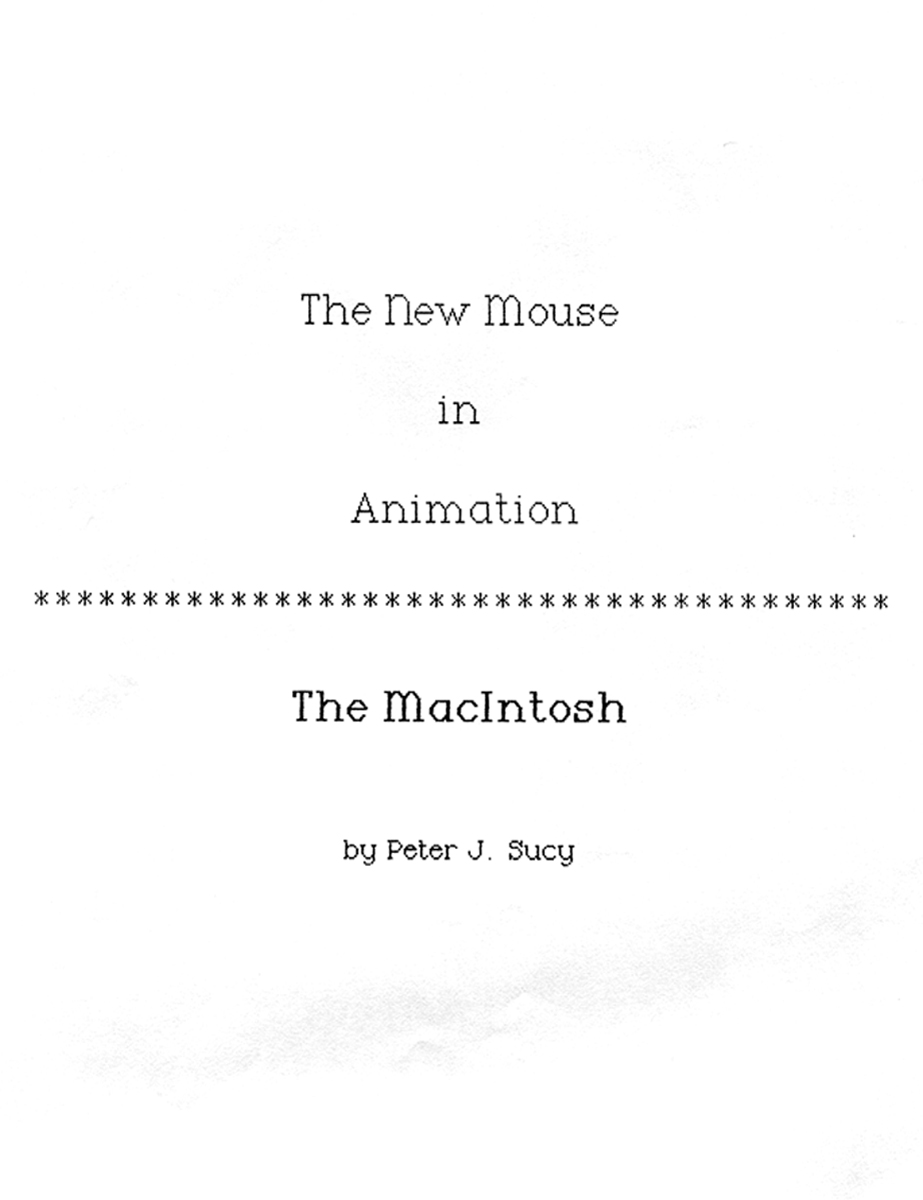
What enabled this WYSIWIYG capability was the Mac's, first of it's kind, bit-mapped screen display. Instead of using alpha-numeric characters in a grid to create an image like all other computers of the time, the Mac was the first computer to be able to address every pixel in the display. The graphic controller could then use the pixels to make text, numbers or even images. This was a major turning point in computer technology that thankfully moved us away from text based computer operating systems and towards graphically based computer operating systems. As a result computers have become much, much easier to use. I decided to try my hand at writing an article to possibly submit to a Mac magazine. Revealing is my belief in the real potential of the Mac not only as a document producer, but as an animation tool, long before any of those tools would show up. I called it "The New Mouse in Animation" which was a not so subtle reference to Disney's Mickey Mouse. The Imagewriter Printer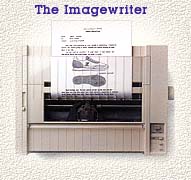 The Imagewriter printer was an incredible printing device, providing the ability to faithfully reproduce anything you could draw on your screen. This was due in part to the fact that the 80 dpi resolution of the Imagewriter was very close to the 72 dpi of the screen. Even more was due to the programming genius behind the Macintosh's Quickdraw routines, Bill Atkinson. Quickdraw was the graphics language that was used by Macintosh applications to draw images and text to the screen and was also used by the printer driver to recreate the screen image in the printer. This allowed greater fidelety between the screen image and the output device than ever before.  This image is the first printout from my Imagewriter shortly after I hooked it up. Note the date in the control panel window. I'd like to point out to you that the disk in the upper corner of the desktop is a 400K floppy disk that contained all my applications and the entire operating system. Those were the days when coding had to be extremely efficient because you only had 128K of memory to work with.
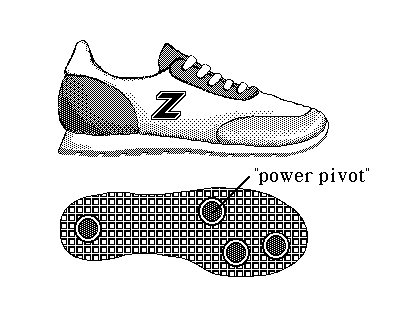
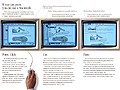
MacPaintIt was MacPaint however, that had really sold me on the Macintosh. Here was an illustration program that went beyond simple lines and circles. You could now create the illusion of shading because you had complete control over every pixel in an image. Never mind that the pixel was only either on or off (white or black), MacPaint was a testament to the power of the human visual system to perceive a fairly course (72 dpi) pattern of black & white dots as an image.    For practice with MacPaint I decided to create illustrations of my camers as seen in the three images above. During the first few weeks with my new Macintosh, I set out to accomplish some of the projects I had purchased it for. Creating letterheads, invoices, print labels, advertising fliers and even a darkroom worksheet. As I became increasingly confident in the use of MacPaint, I decided to try illustrating some real objects, and since I was a photographer I chose my traditional tools of the trade, my cameras as subjects.   35mm Half Frame Camera DesignAs a result of my disappointment with the Disc camera program at Kodak, I began to wonder if I could design a better camera myself.
Gerry, another technician, and I had been discussing the camera we'd wished they'd built instead. We imagined a 35mm half frame camera that pulled the film vertically from top to bottom, thereby creating a horizontal image format. It also employed some other unique features for the time, we proposed for example, that the film be wound out of the canister first and then wound back into the canister as it was exposed thus protecting the already exposed film from inadvertant camera back openings. The camera was to be only slightly larger than the Disc camera and would feature an integral sliding cover that would protect the lens and at the same time position the flash farther from the lens to minimize red eye. I decided to whip up a proposal for our camera design using my new found skill at drawing in MacPaint to draft a prototype camera design. As it turned out, this was to be just the first of many in a long line of my suggestions that would be ignored. Konica released an almost exact copy of our idea about 8 months later. Kodak didn't want to produce 35mm cameras because it was more profitable to introduce new film formats, that way all the labs would have to upgrade and they could sell the new equipment. The trend downward in film size from 126, to 110 and then Disc would begin to erode their quality image.
My Photography at the TimeI loved nature and the landscape, so those were naturally my favorite subjects. I had an Olympus OM2 35mm camera and shot mostly Kodakchrome 64 or 25 slide film. At the time, I could drop off a roll of film at the Kodachrome lab at "The Park" and pick it up the next day. Those were the days! 
Kodak, unfortunately, did not offer a satisfactory solution for printing reversal film. While at RIT I had discovered Cibachrome by Ilford. This process was particularly caustic (bleach), but produced brilliant prints from transparencies. This short piece written with MacWrite gives an idea of where my leanings were in those early days. A New Way to Draw!My photography began to take a back seat as I found I really liked this new way of creating images, the Revert and the Undo command especially, brought the joy back to creating images by hand that I hadn't experienced since grade school. I'd loved designing houses, but hated the tedious drawing, erasing and redrawing required to get something right, only to have it look all smudged up when you were done. My inherited perfectionist tendancies only made it even more frustrating, to say the least.  There were some ideas I'd had for several house designs so I decided to try and see if I could use this new tool to illustrate these ideas as well. The first was an earth-bermed, solar house to be built into the side of hill. The problem I found most challenging with this particular attempt, was that MacPaint limited you to just vertical pages, so I had to design everything sideways. The images are reproduced here correctly rotated but imagine turning the page 90 degrees to work on it. One other serious drawback to MacPaint was the limited resolution and lack of any scale tools. This meant that for any serious drafting it was nearly useless as there are only so many pixels you could put on a page. They would look pretty jaggy when blown up to page size. 
About the time I was coming to this realization, I read in MacWorld magazine about a new software program from Apple, that just might address all these shortcomings with MacPaint. The new program from Apple was to be called MacDraw. Instead of pixels this program used mathematical formulas to describe circles, squares and polygons that could be scaled to any size and not have that jaggy look. It had rulers and scaling, and best of all you could paste MacPaint images into the documents to add some detail. Unfortunately, nobody would see a copy of this program MacDraw for nearly another year.
I don't think I really minded all that much though, MacPaint and Musicworks provided many, many hours of creative exploration. I was so entirely enthralled by this new technology, I just couldn't get enough. So began the first of many years to come with me trading sleep for the sake of artistic exploration. First Digitizer for the Mac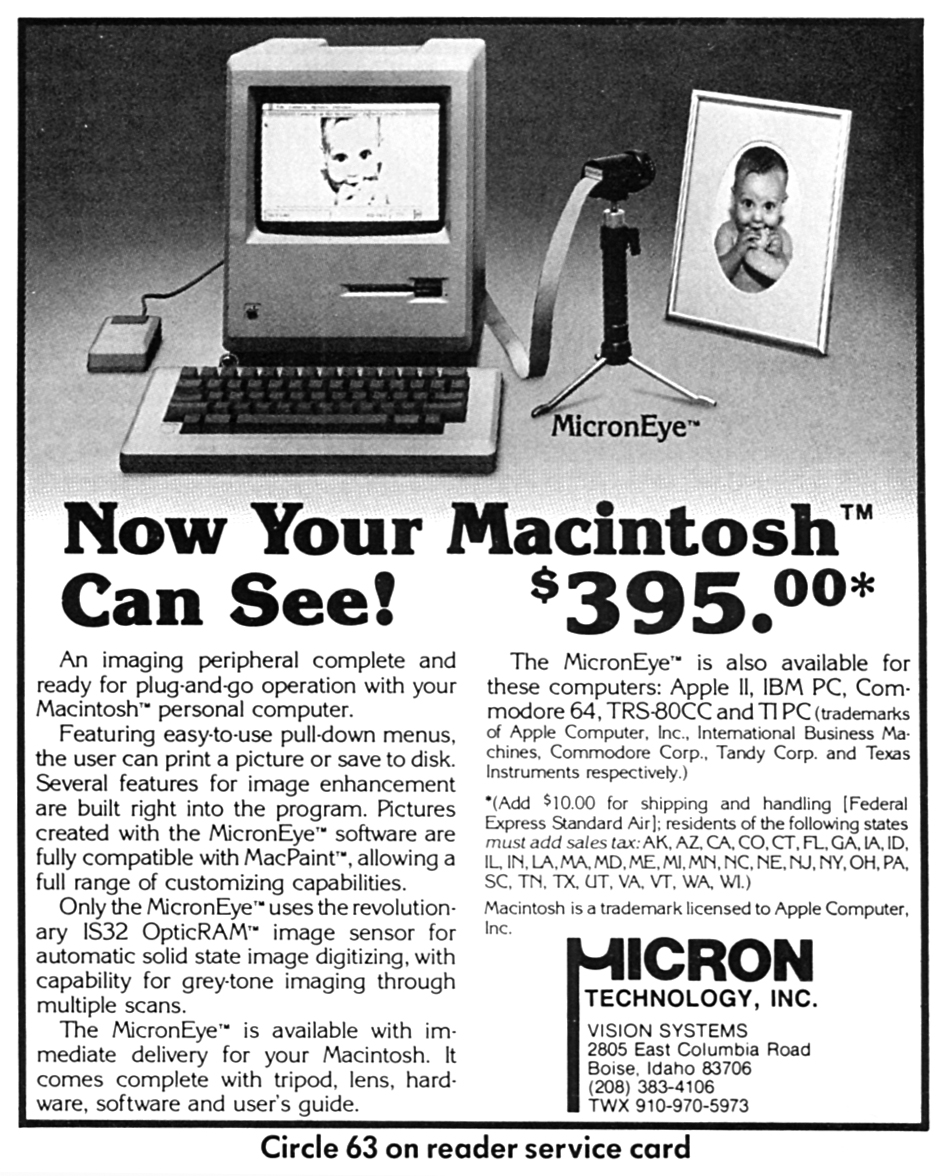 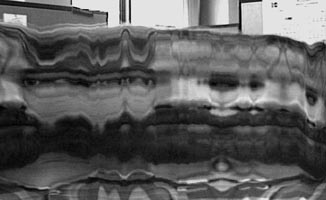 A scanning camera actually, the MicronEye has a single linear CCD array which was moved across the focal plan capturing a column of pixels at a time. The slow capture could result in some unusual images such as this self portrait from 1986. 
Loon hand drawn in MacPaint. |